


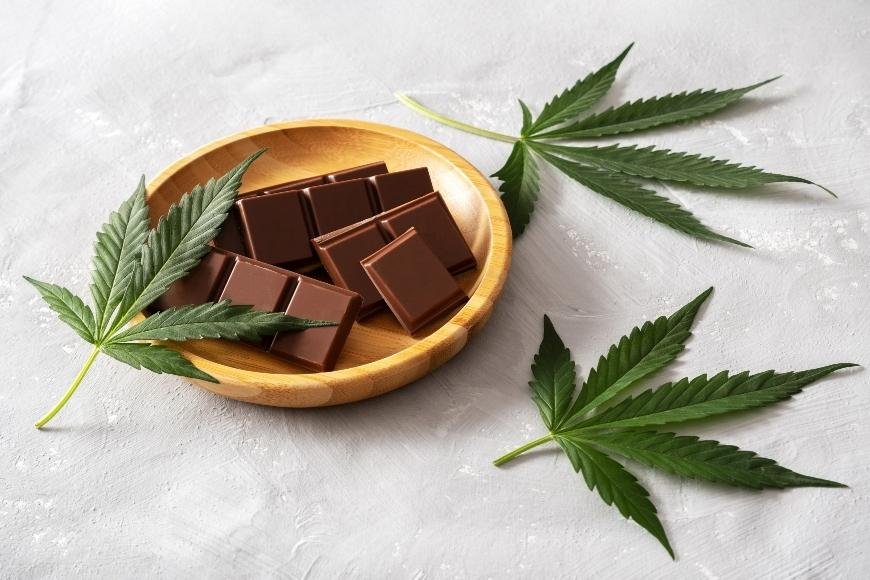
How to Make Cannabis Chocolate
Discover how to make cannabis chocolate with our simple recipe guide, featuring step-by-step instructions and tips for creating delicious homemade edibles.
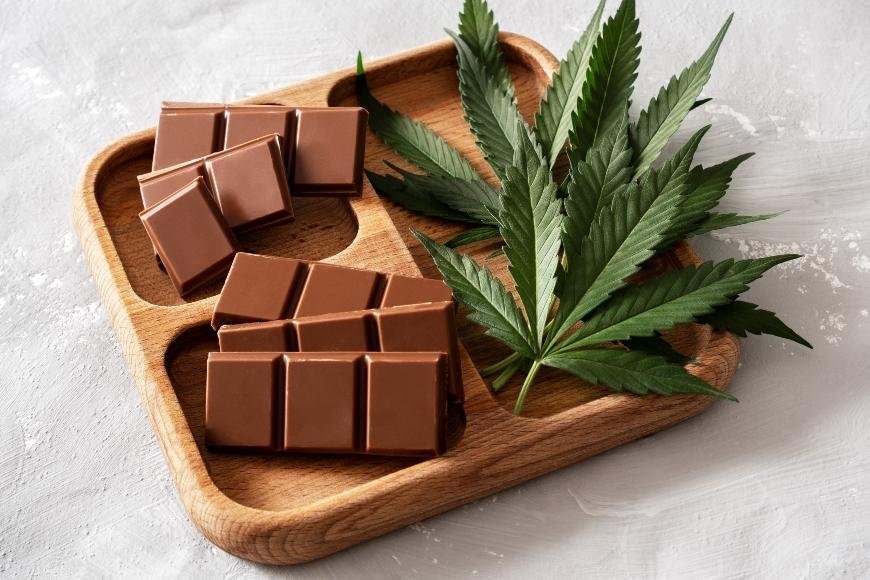
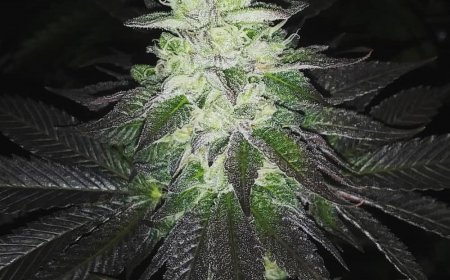
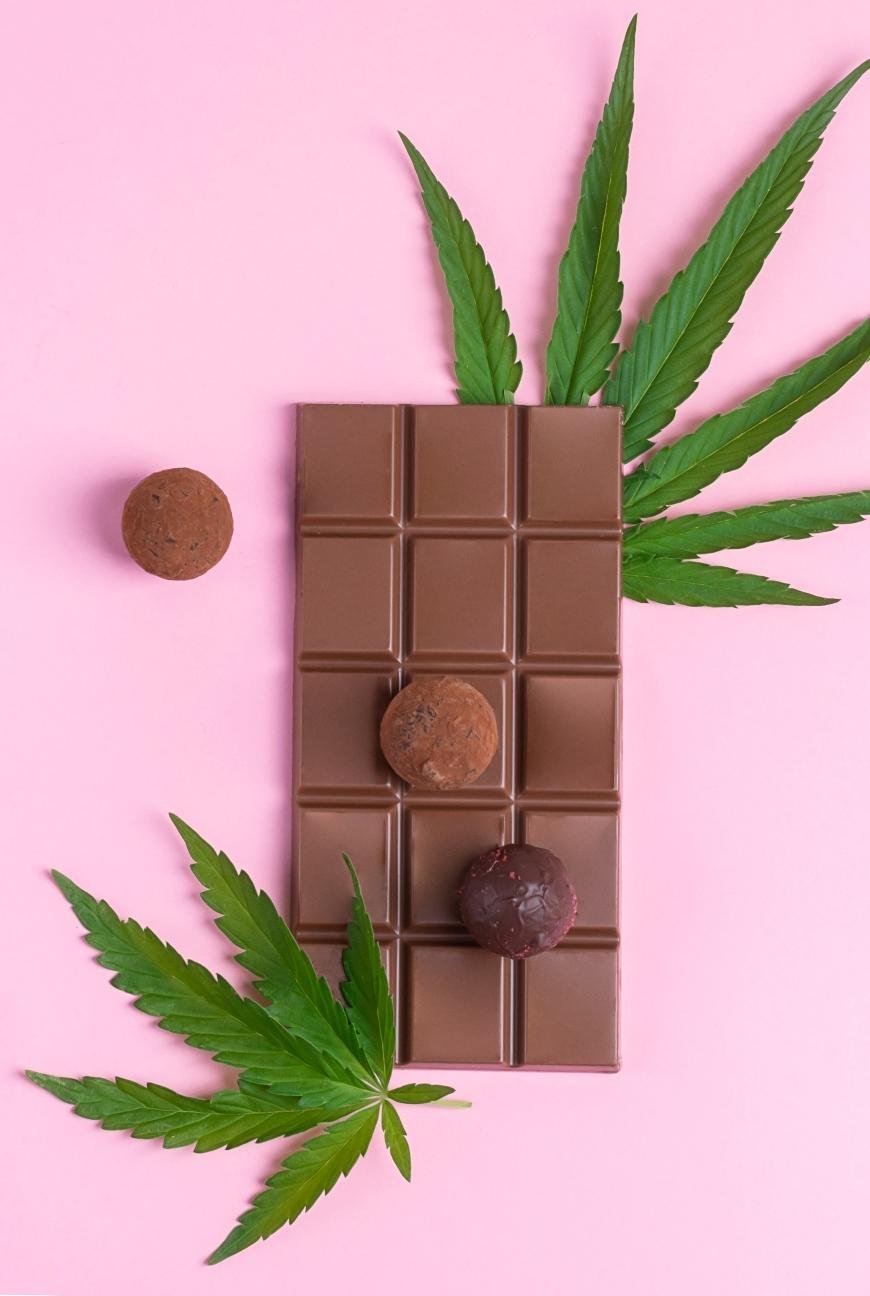
Creating cannabis chocolates is a form of homemade edibles that fuses the luxurious flavor of superior cocoa with the blissful impact of finely milled marijuana. This delicious treat is perfect for those who enjoy indulging in both worlds and want a homemade edible option.
In this blog post, we will guide you through the process of making cannabis chocolates properly, from decarboxylating your weed to tempering your chocolate for a smooth finish. We'll also explore various flavors and textures you can add to create unique combinations that cater to your personal preferences.
From the novice to the experienced edible maker, this guide on how to make cannabis chocolates is sure to provide all with a comprehensive set of instructions for creating delicious treats. Along with dosing tips and storage advice, this comprehensive guide on how to make cannabis chocolate is sure to elevate your culinary skills and impress even the most discerning palate.
Table of Contents:
- Ingredients and Equipment
- Quality Ingredients for Flavorful Chocolates
- Necessary Equipment: Tools You Need in Your Kitchen
- Dosage Considerations: Finding Your Perfect Potency
- Decarboxylation: Activating the THC in Cannabis Chocolate
- Storage Tips
- FAQs in Relation to How to Make Cannabis Chocolate
- Conclusion
Ingredients and Equipment
Creating mouthwatering cannabis-infused chocolates at home is easier than you might think. For a successful homemade cannabis chocolate experience, the right ingredients and equipment are essential. In this section, we'll discuss everything you need to get started on your homemade cannabis chocolate journey.
Quality Ingredients for Flavorful Chocolates
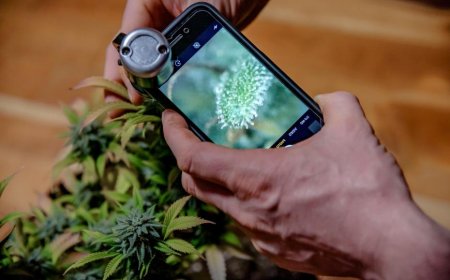
For optimal flavor, select only the finest ingredients when crafting your cannabis chocolates. Begin with your choice of cannabis strain, as this will impact both the flavor and effects of your final product. Next, choose either cannabutter or cannabis-infused coconut oil, which will serve as the base for infusing THC into your chocolate.
The type of chocolate you select is also crucial - opt for high-quality dark, milk or white chocolate depending on your preference. Remember that better quality chocolates will not only taste better but also melt more evenly during preparation.
Necessary Equipment: Tools You Need in Your Kitchen
- Double boiler: A double boiler is essential for melting chocolate without burning it. If you don't have one available, create a makeshift version using a heatproof bowl placed over a pot of simmering water.
- Silicone molds: These are perfect for shaping individual chocolates while ensuring easy removal once they've set. Alternatively, use an ice cube tray lined with plastic wrap.
- Thermometer: A digital or candy thermometer is helpful for monitoring the temperature of your chocolate during melting and infusion.
- Spatula: Use a silicone spatula to stir and combine ingredients without scratching your cookware.
Dosage Considerations: Finding Your Perfect Potency
When making cannabis chocolates, it's essential to take into account the dosage in order to get the wanted effects. The potency of your infused oil or butter will depend on factors such as strain strength, extraction method, and decarboxylation process. To calculate an approximate dose per chocolate piece, divide the total milligrams of THC in your infused oil or butter by the number of chocolates you plan to make. Adjust this amount according to personal preference and tolerance levels - remember that it's always better to start with a lower dose if you're unsure.
A crucial tip for ensuring consistent dosing across all pieces is thoroughly mixing the melted chocolate with infused oil or butter before pouring into molds. This ensures even distribution of THC throughout each individual treat.
Decarboxylation: Activating the THC in Cannabis Chocolate
Before diving into making your cannabis chocolate, it's essential to understand the process of decarboxylation. Decarboxylation is a crucial step that activates the psychoactive properties of THC in your cannabis-infused treats. Without this process, you'll end up with chocolates lacking their desired effects.
To decarboxylate cannabis, you'll need to heat it at a specific temperature for a certain amount of time to convert THCA (tetrahydrocannabinolic acid) into its active form, THC. This chemical reaction occurs naturally when smoking or vaporizing cannabis but needs some extra help when creating edibles like infused chocolates.
To decarboxylate your cannabis at home, follow these simple steps:
- Set your oven to 240°F (115°C) before beginning the decarboxylation process.
- Break your finely ground cannabis buds into small pieces and spread them evenly on a parchment-lined baking sheet.
- Bake the ground-up buds for about 30-40 minutes, stirring occasionally to ensure even heat distribution.
- The color should change from bright green to brownish-green once fully decarbed. Remove from oven and let cool before using in recipes.
Note that over-decarbing can lead to degradation of cannabinoids like THC and CBD; hence sticking within recommended temperatures and times is vital for optimal results. If you're unsure whether your weed has been adequately decarbed, there are specialized devices available such as Ardent Nova that can help ensure proper decarboxylation.
Once your cannabis is decarbed, you're ready to infuse it into coconut oil or cannabutter. This process involves gently heating the decarboxylated cannabis with the fat of your choice for a few hours, allowing THC and other cannabinoids to bind with the fatty molecules. You can then strain out the plant material and use this infused oil or butter in your chocolate recipes.
Pro tip: If you want to avoid any unwanted herbal flavors in your chocolates, consider using cannabis-derived oils, such as distillate or isolate, which are tasteless and odorless but still contain high concentrations of active cannabinoids like THC and CBD.
Now that you have your infused oil or butter, it's time to make your cannabis chocolate. Here's a simple recipe to get you started:
Homemade Cannabis Chocolates Recipe
Ingredients:
- 1 cup of high-quality chocolate chips or finely chopped chocolate
- 1/4 cup of cannabis-infused coconut oil or cannabutter
Instructions:
- Melt the chocolate in a double boiler or a heatproof bowl set over a pot of simmering water. Stir occasionally until the chocolate is smooth and fully melted.
- Add the cannabis-infused oil or butter to the melted chocolate and stir until fully combined.
- Pour the mixture into chocolate molds or a lined baking dish and let it cool at room temperature for a few minutes.
- Place the chocolate in the fridge for about 30 minutes or until it's fully set.
- Remove the chocolate from the molds or cut it into bite-sized pieces if using a baking dish.
- Enjoy your homemade cannabis-infused chocolates.
Pro tip: To achieve perfectly tempered chocolate, it's essential to follow the tempering process correctly. Tempering involves melting the chocolate, cooling it down, and then reheating it to specific temperatures to ensure a smooth and shiny finish. However, if you're not confident in your chocolate-making or tempering skills, you can still achieve great results by using liquid chocolate or white chocolate instead.
Remember to dose your cannabis chocolates properly and follow any dosing instructions that come with your cannabis tincture or infused oil. Eating chocolate produces effects differently than smoking or vaping cannabis, albeit equally enjoyable. So, start with a small amount and wait for the effects to kick in before consuming more.
Cacao beans produce anandamide, a neurotransmitter that binds to the same receptors as THC, producing euphoric sensations. So, combining cannabis and chocolate is a match made in heaven. With this simple recipe, you can make weed chocolates with simplicity and ease, even if you don't have any baking skills. Add nuts or dried fruits to your ingredient list to make your cannabis chocolates even more delicious and nutritious.
Step-by-Step Process
Creating delicious infused chocolates is a simple process that can be easily mastered with some practice. In this section, we'll walk you through the steps to make your own cannabis chocolate at home, ensuring an enjoyable and satisfying experience.
1. Prepare Your Cannabis Infusion
The first step in making cannabis chocolate is preparing your cannabis-infused oil or butter. You can use either coconut oil or cannabutter for this purpose. Once you have decarboxylated your cannabis, it is time to melt the chocolate.
2. Melt Your Chocolate
Select a high-quality chocolate of your choice (dark chocolate, white, or milk) and chop it into small pieces for easier melting. Use a double boiler to melt the chocolate gently over low heat while stirring continuously to prevent burning. You could also opt to utilize a bowl that is suitable for the microwave and heat it in 30-second time frames at 50% power until fully liquefied.
3. Combine Chocolate and Cannabis Infusion
Add your prepared cannabis-infused oil or butter to the melted chocolate while continuing to stir gently until thoroughly combined. Be sure not to overmix as this may cause separation later on during cooling.
4: Calculate Dosage & Portioning
To determine how potent each piece of chocolate will be, divide the total milligrams of THC present in your infusion by the number of servings desired (e.g., if using 100mg THC worth of infusion for ten servings = 10mg per serving). Use a dosage guide to help you decide on the appropriate potency for your needs.
5. Pour into Molds or Tray
Pour the infused chocolate mixture into silicone molds, ice cube trays, or even a parchment-lined baking sheet if you prefer making bars. Gently tap the mold or tray on your work surface to remove any air bubbles and ensure an even distribution of cannabis infusion throughout each piece.
6. Customize & Decorate (Optional)
If desired, add toppings such as nuts, dried fruits, crushed cookies, or sea salt before the chocolate sets completely. Personalize your cannabis chocolates with an array of flavor and texture combinations to suit your individual preferences.
7: Allow Chocolate to Set
As the chocolate cools in your filled molds, leave it at room temperature for about 10 minutes before transferring them to the refrigerator for approximately 1-2 hours until fully set. Once hardened, gently pop out each piece from its mold and enjoy.
Flavors and Textures
Adding variety to your cannabis chocolates can make them even more enjoyable and personalized. By experimenting with different flavors, textures, and mix-ins, you can create unique treats that cater to your taste buds. Let's explore some delicious options for enhancing your infused chocolates.
Sweeteners: If you prefer a sweeter chocolate or want to balance the earthy flavor of cannabis, consider adding sweeteners like agave nectar, honey, or maple syrup. Start with small amounts and adjust according to taste.
Nuts & Seeds: Adding nuts or seeds provides an extra crunch while also boosting nutritional value. Try incorporating almonds, walnuts, pistachios, chia seeds, or flaxseeds into your mixture before pouring it into molds.
Dried Fruits: For a fruity twist on traditional cannabis chocolate bars, dried fruits such as cranberries, cherries, or apricots can be mixed in for added sweetness and texture variation.
Mint & Citrus Zest: To add refreshing notes to your infused chocolate creations, mint extract, lemon zest, or orange zest are excellent choices. These flavors pair well with both dark and milk chocolates while masking any lingering cannabis aroma.
Coffee & Spices: For a more sophisticated flavor profile, consider adding finely ground coffee beans or spices like cinnamon, cardamom, or chili powder. These additions can enhance the depth of your chocolate and create unique combinations that excite the palate.
Swirls & Layers: To achieve visually appealing cannabis chocolates with contrasting flavors, the swirling technique can be used to combine two different types of melted chocolate (e.g., dark and white). Alternatively, you can layer multiple infused chocolates in a mold for an exciting taste experience.
Incorporating these flavorful options into your homemade cannabis chocolates not only adds variety but also allows you to customize them according to your preferences. Explore the possibilities of unique flavor mixtures - you never know what yummy treats will come out of it.
Storage Tips
Maintaining the freshness and potency of your cannabis chocolates is essential to ensure a delightful experience every time you indulge. Proper storage not only preserves their taste but also keeps them safe from curious pets or children. Follow these simple tips to keep your homemade infused treats in top condition.
Keep Them Cool and Dry
Cannabis-infused chocolates, like regular chocolate, are sensitive to heat and moisture. Store your chocolates in a cool, dry area away from direct sunlight or heat sources to ensure they stay fresh. A dark cupboard or pantry works well for this purpose. If you live in a particularly warm climate, consider storing your chocolates in an airtight container inside the refrigerator. This will help prevent melting and maintain their shape.
Airtight Containers Are Key
To guard your cannabis chocolates from air contact, which can cause staleness and reduced potency over time, keep them in a hermetic receptacle. Choose containers made of glass or BPA-free plastic with tight-fitting lids that seal out any air. Dividing individual pieces using parchment paper can help prevent sticking together while stored.
Label Your Chocolates Clearly
It's crucial to label your cannabis-infused creations clearly so that they don't get mistaken for regular chocolate by unsuspecting family members or friends. Include information about the dosage on each piece if possible - this will make it easier for everyone consuming them to know how much they're taking. Additionally, consider using silicone molds with unique shapes or designs to differentiate your infused chocolates from regular ones.
Consider Vacuum Sealing for Long-Term Storage
If you plan on storing your cannabis chocolates for an extended period, vacuum sealing can help preserve their freshness and potency even longer. By removing all the air from the packaging, vacuum sealing prevents oxidation and keeps your treats tasting great.
Incorporating these storage tips into your routine will ensure that every bite of your homemade cannabis chocolate is as delicious and potent as when it was first made. With proper care, you'll be able to enjoy these delightful infused treats whenever the mood strikes.
FAQs in Relation to How to Make Cannabis Chocolate
What Does Cannabis Chocolate Do to You?
Cannabis chocolate can produce a range of effects, including relaxation, euphoria, and increased sensory perception. The intensity and duration of these effects depend on factors such as the strain used, dosage, individual tolerance levels, and metabolism. Consuming cannabis in edible form may result in a slower onset but longer-lasting effects compared to smoking or vaping.
How Do You Get the Best Results from Chocolate Edibles?
To achieve optimal results from chocolate edibles, start with a low dose (5-10mg THC) and wait at least 1-2 hours before consuming more. This allows time for your body to metabolize the cannabinoids properly. Additionally, ensure that your cannabis is decarboxylated prior to infusing it into the chocolate for maximum potency.
What Temperature Should Cannabis Chocolate Be?
The ideal temperature for melting chocolate when making cannabis-infused treats is between 110°F (43°C) and 115°F (46°C). This ensures that both the cocoa butter melts evenly without burning while preserving terpenes found in marijuana which contribute flavor profiles like citrusy or earthy notes.
What Is Cannabis Chocolate Called?
Cannabis-infused chocolates are often referred to as "weed chocolates" or "marijuana chocolates." They may also be labeled as "cannachocolates," "medicated chocolates," or simply "edibles" depending on regional terminology preferences within different communities who consume them recreationally or medicinally alike.
Conclusion
With this guide, you can craft your own cannabis-infused chocolate at home with ease. Each step is important in creating a high-quality product that tastes great and delivers the desired effects, from decarboxylation to adding flavors and textures.
Remember to store your finished chocolates properly so they maintain their potency over time. Experiment with various components and flavor mixes until you get the ideal formula for your palate.


